It could be difficult for shop owners to navigate the vast array of options for hosting and maintaining their online businesses. Reviews and suggestions made on the internet may significantly influence the final selection.
Some online storefront management systems are better suited to huge companies, while others work better for smaller ones. The future of your business and its ability to grow might be shaped by the eCommerce solution you choose.
The two most well-known website builders in the realm of robust eCommerce platforms are Wix and Shopify. If you're considering Wix to Shopify migration, this blog post will outline a detailed description of the steps necessary to transfer your website to Shopify.
How does one go about making the switch from Wix to Shopify?

Transferring the domain name and website itself is the key component of migrating a Wix site to Shopify. During the Wix to Shopify migration services, you may need to make adjustments to your website's SEO settings to keep your Google search ranking consistent.
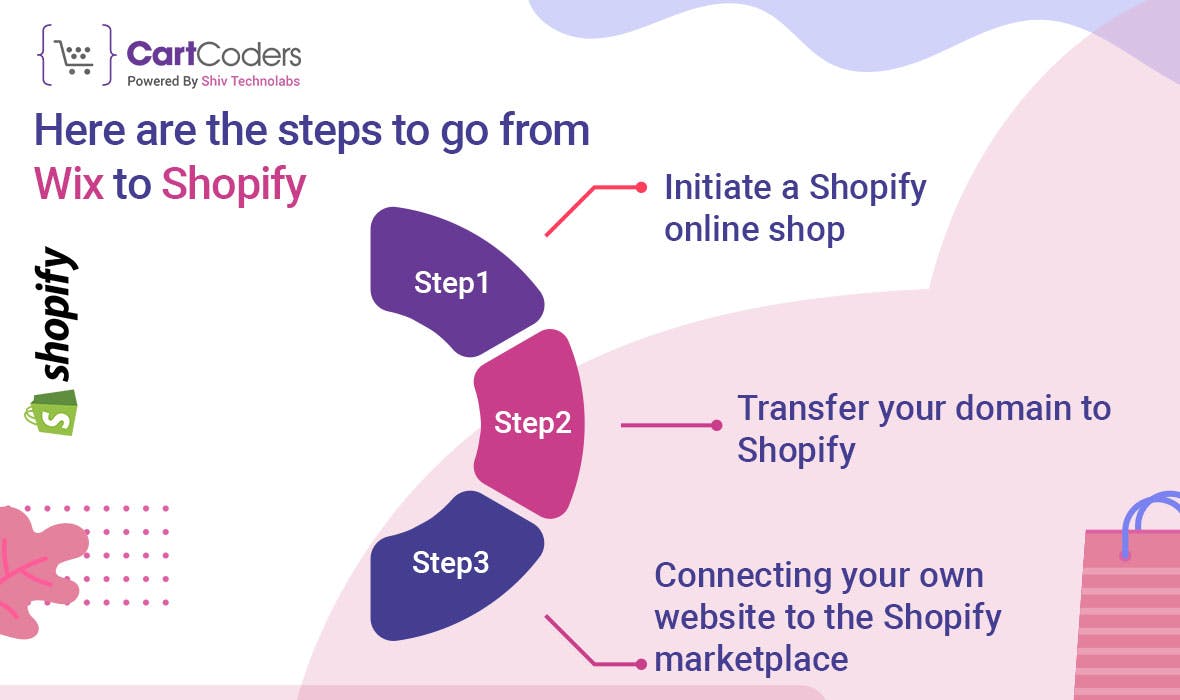
Here are the steps to go from Wix to Shopify:

Initiate a Shopify online shop
Step 1: Get to know Shopify first
if you want to open an online store, you need to create an account with Shopify and learn everything about its features and capabilities. Your industry, billing email address, and platform usage purpose will be requested when you register and log in.
Step 2: Stand out on the web page
Fill out the required fields, and then you can begin customizing your theme. If you're looking for free themes or paid designs, Shopify has you covered with its design library and integrated theme store. Finally, you may start from scratch by selecting the default theme and making all the required changes. Choose a template and start adding the required components.
Step 3: Add more pages at the end
After you've built and customized the homepage, you can start adding pages to your website. After you've filled out the forms, add your content, media assets (photos and videos), and relevant links to each page.
Step 4: Transfer all of your data from your Wix store to it
Make sure the content from your Wix store is moved to Shopify correctly if you want your Shopify site to make sales. One alternative is to manually input product information into the sidebar, which would include content, specifications, pricing, and SEO considerations. This approach is effective for a small set of products.
If you have a lot of goods on your Wix store, you may import them all onto your Shopify site using a CSV file. Use the same method to bring in customer lists and whatever else you have on your website. It turns out that this method is complex and time-consuming.
Step 5: Verify the results
Review each page thoroughly to ensure the export was successful once you've transferred product material. Go here to fill out any blanks, double-check the spelling of the forms, and add more information about your items.
If you own a large online store, you should use an app to track stock and make sure products are available. Following the content migration from Wix to Shopify, the next crucial steps are to launch your store and move your domain name.
Transfer your domain to Shopify
Following this comprehensive method will make transferring your domain name from Wix to Shopify a breeze:
Go to the "My Domains" tab on Wix after you've logged in.
Press the "Advanced" button, and then choose the "Transfer away from Wix" option. Next, choose the domain you want to transfer.
Get the EPP code by emailing yourself. Remember that you can't move your domain from Wix to Shopify if you purchased it within the last 60 days.
Identify the steps to take while moving domains away from Shopify. The migration is scheduled to be completed no later than seven days after the query is received.
Make sure you've tweaked all the required parameters before you start selling via your Shopify site. You may find these options for payment, shipping, and taxes on the Shopify dashboard.
Connecting your own website to the Shopify marketplace
You may either connect the domain to your Shopify account or transfer it if you bought it from somewhere other than Wix. Both methods will allow you to bring your domain name to Shopify.
Here are the steps to transfer your domain to Shopify:
Before you start the transfer process, make sure you read the domain registrar's policy.
After entering into your domain name provider account, go to the account settings to initiate a domain name transfer.
An authorization number will be given to you so that you may transfer the domain.
In Shopify's administrative panel, go to the "Online Stores" section and choose the "Domains" option.
As soon as you click "Connect existing domain," you'll have an opportunity to import your domain.
Upon choosing the domain to transfer, entering it, and clicking "Next," the "Transfer Domain" button will be shown. Select the "Verify Domain" option. When you get the "Domain unlocked" message, it means your domain name is ready to be transferred. The procedure may be completed by clicking the "Next" button.
Conclusion
If you want your online store to thrive, you must transfer from Wix to Shopify, even if it's a tedious procedure. We hope that the guidelines provided above make the domain and content transfer process simpler to manage, despite its complexity. Wix to Shopify migration company can help you to get focused throughout the domain name transfer process.